Self Hosting Service with Cloudflare Tunnels
Introduction
I’d like to show you how I host personal services using Cloudflare tunnels. For this post, I’ll walk through setting up a service called GoatCounter, a privacy-focused web analytics platform that allows you to track website traffic without compromising user privacy. I use it to monitor how many people visit my blog.
First, I own the domain jonathanhamberg.com, which I purchased from NameCheap, but I’ve configured the DNS through Cloudflare. This setup is important for making Cloudflare tunnels easier to configure.
I also have a home NAS running TrueNAS that hosts these services.
TrueNAS Setup
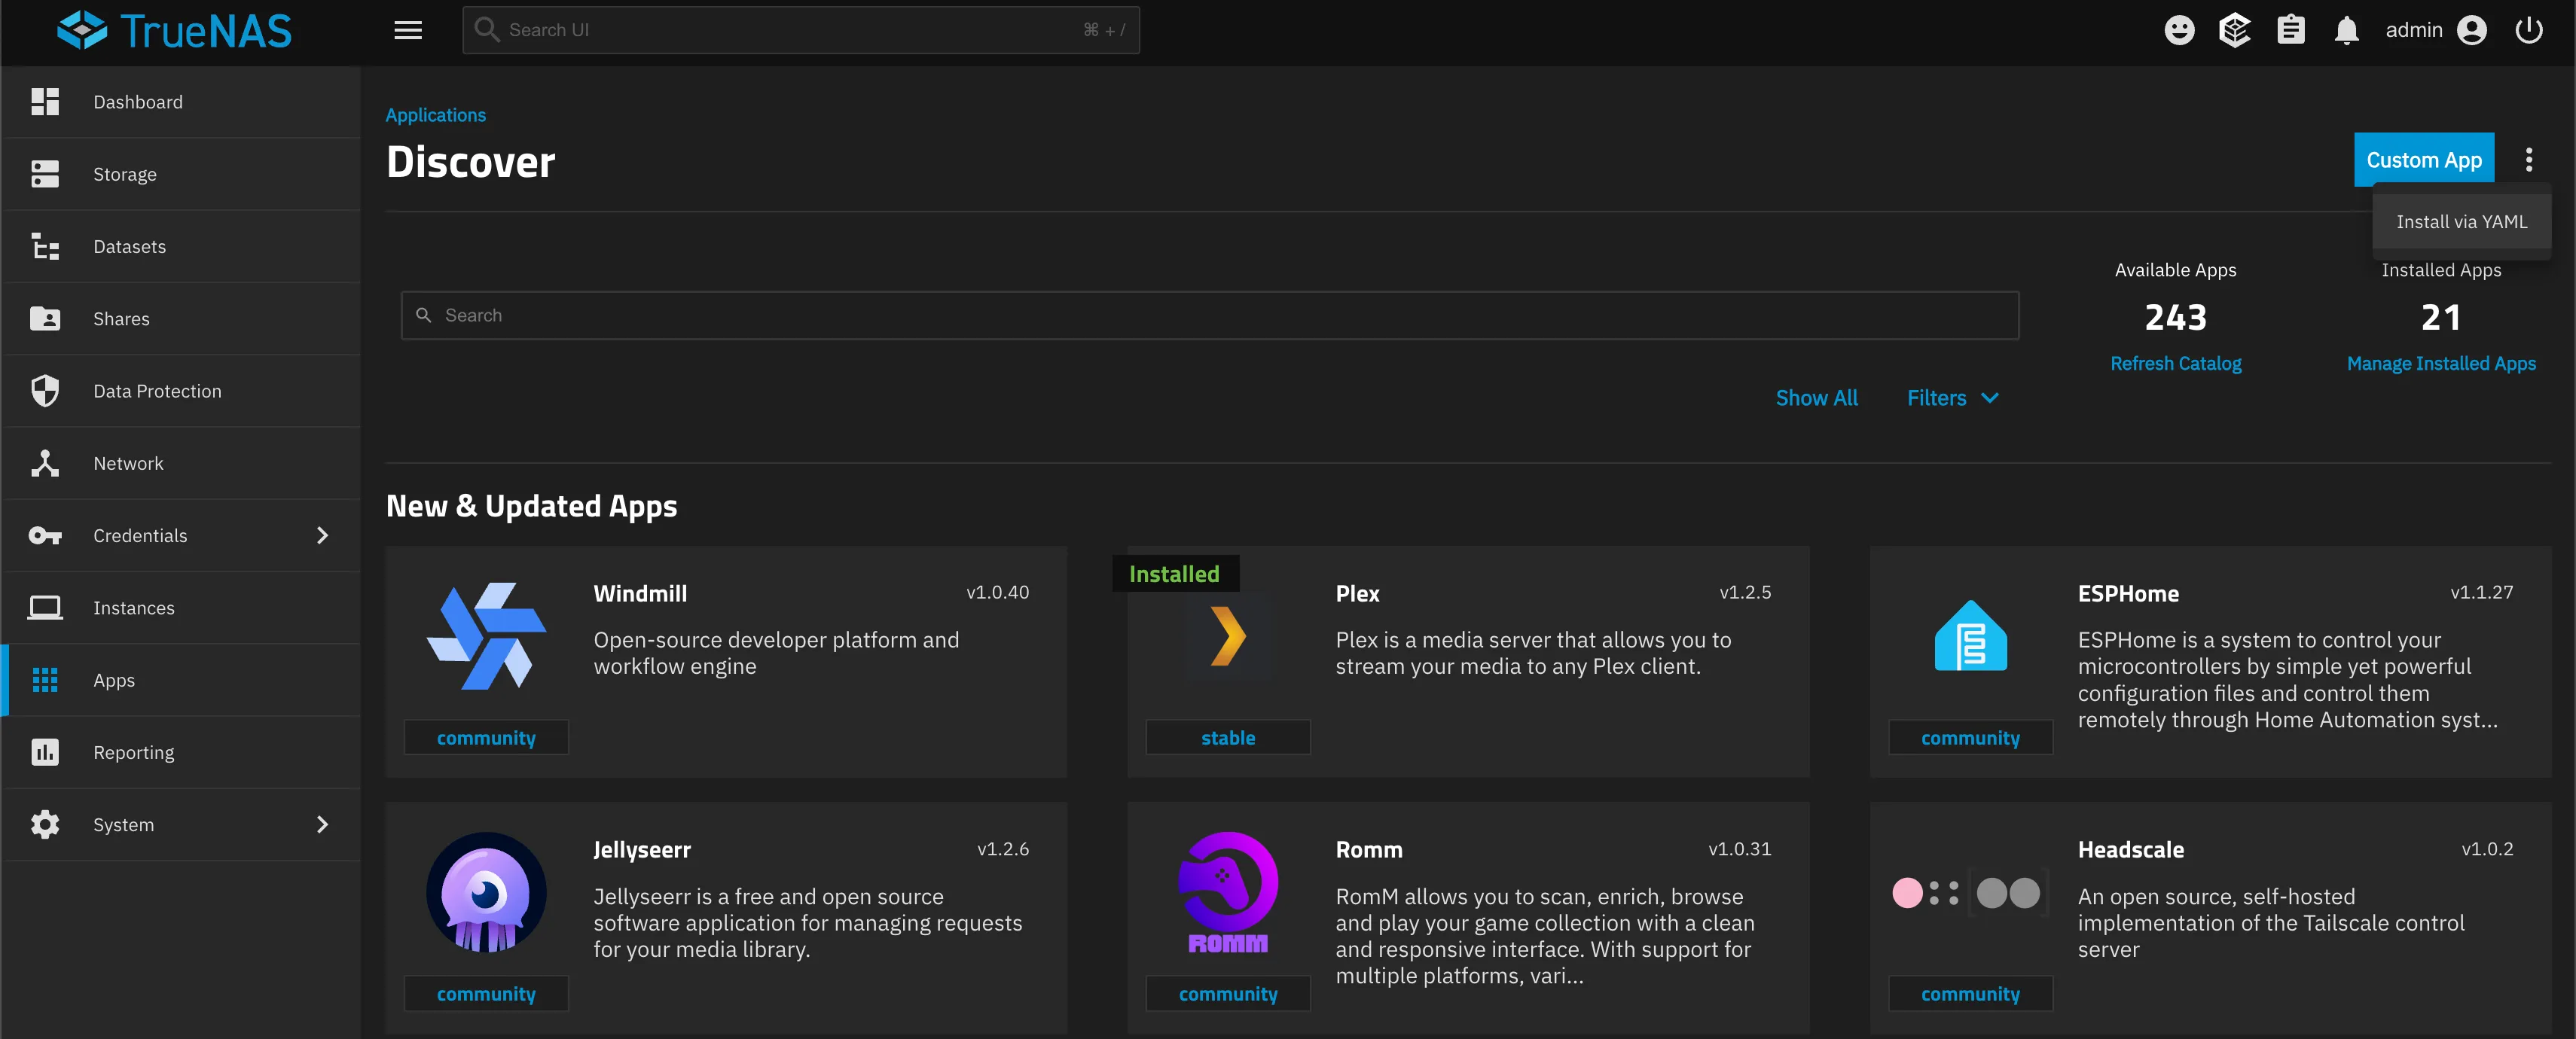
From the Apps page, click on “Discover Apps”:

You’ll see an option to “Install via YAML” where you can paste the Docker compose file available from the GoatCounter GitHub page:
services:
  goatcounter:
    image: arp242/goatcounter
    ports:
      - '20236:8080'
    volumes:
      - goatcounter-data:/home/goatcounter/goatcounter-data
version: '3'
volumes:
  goatcounter-data:
Once you’ve added the service, you should see the following, indicating that GoatCounter is now running on TrueNAS:

Cloudflare Tunnel Setup
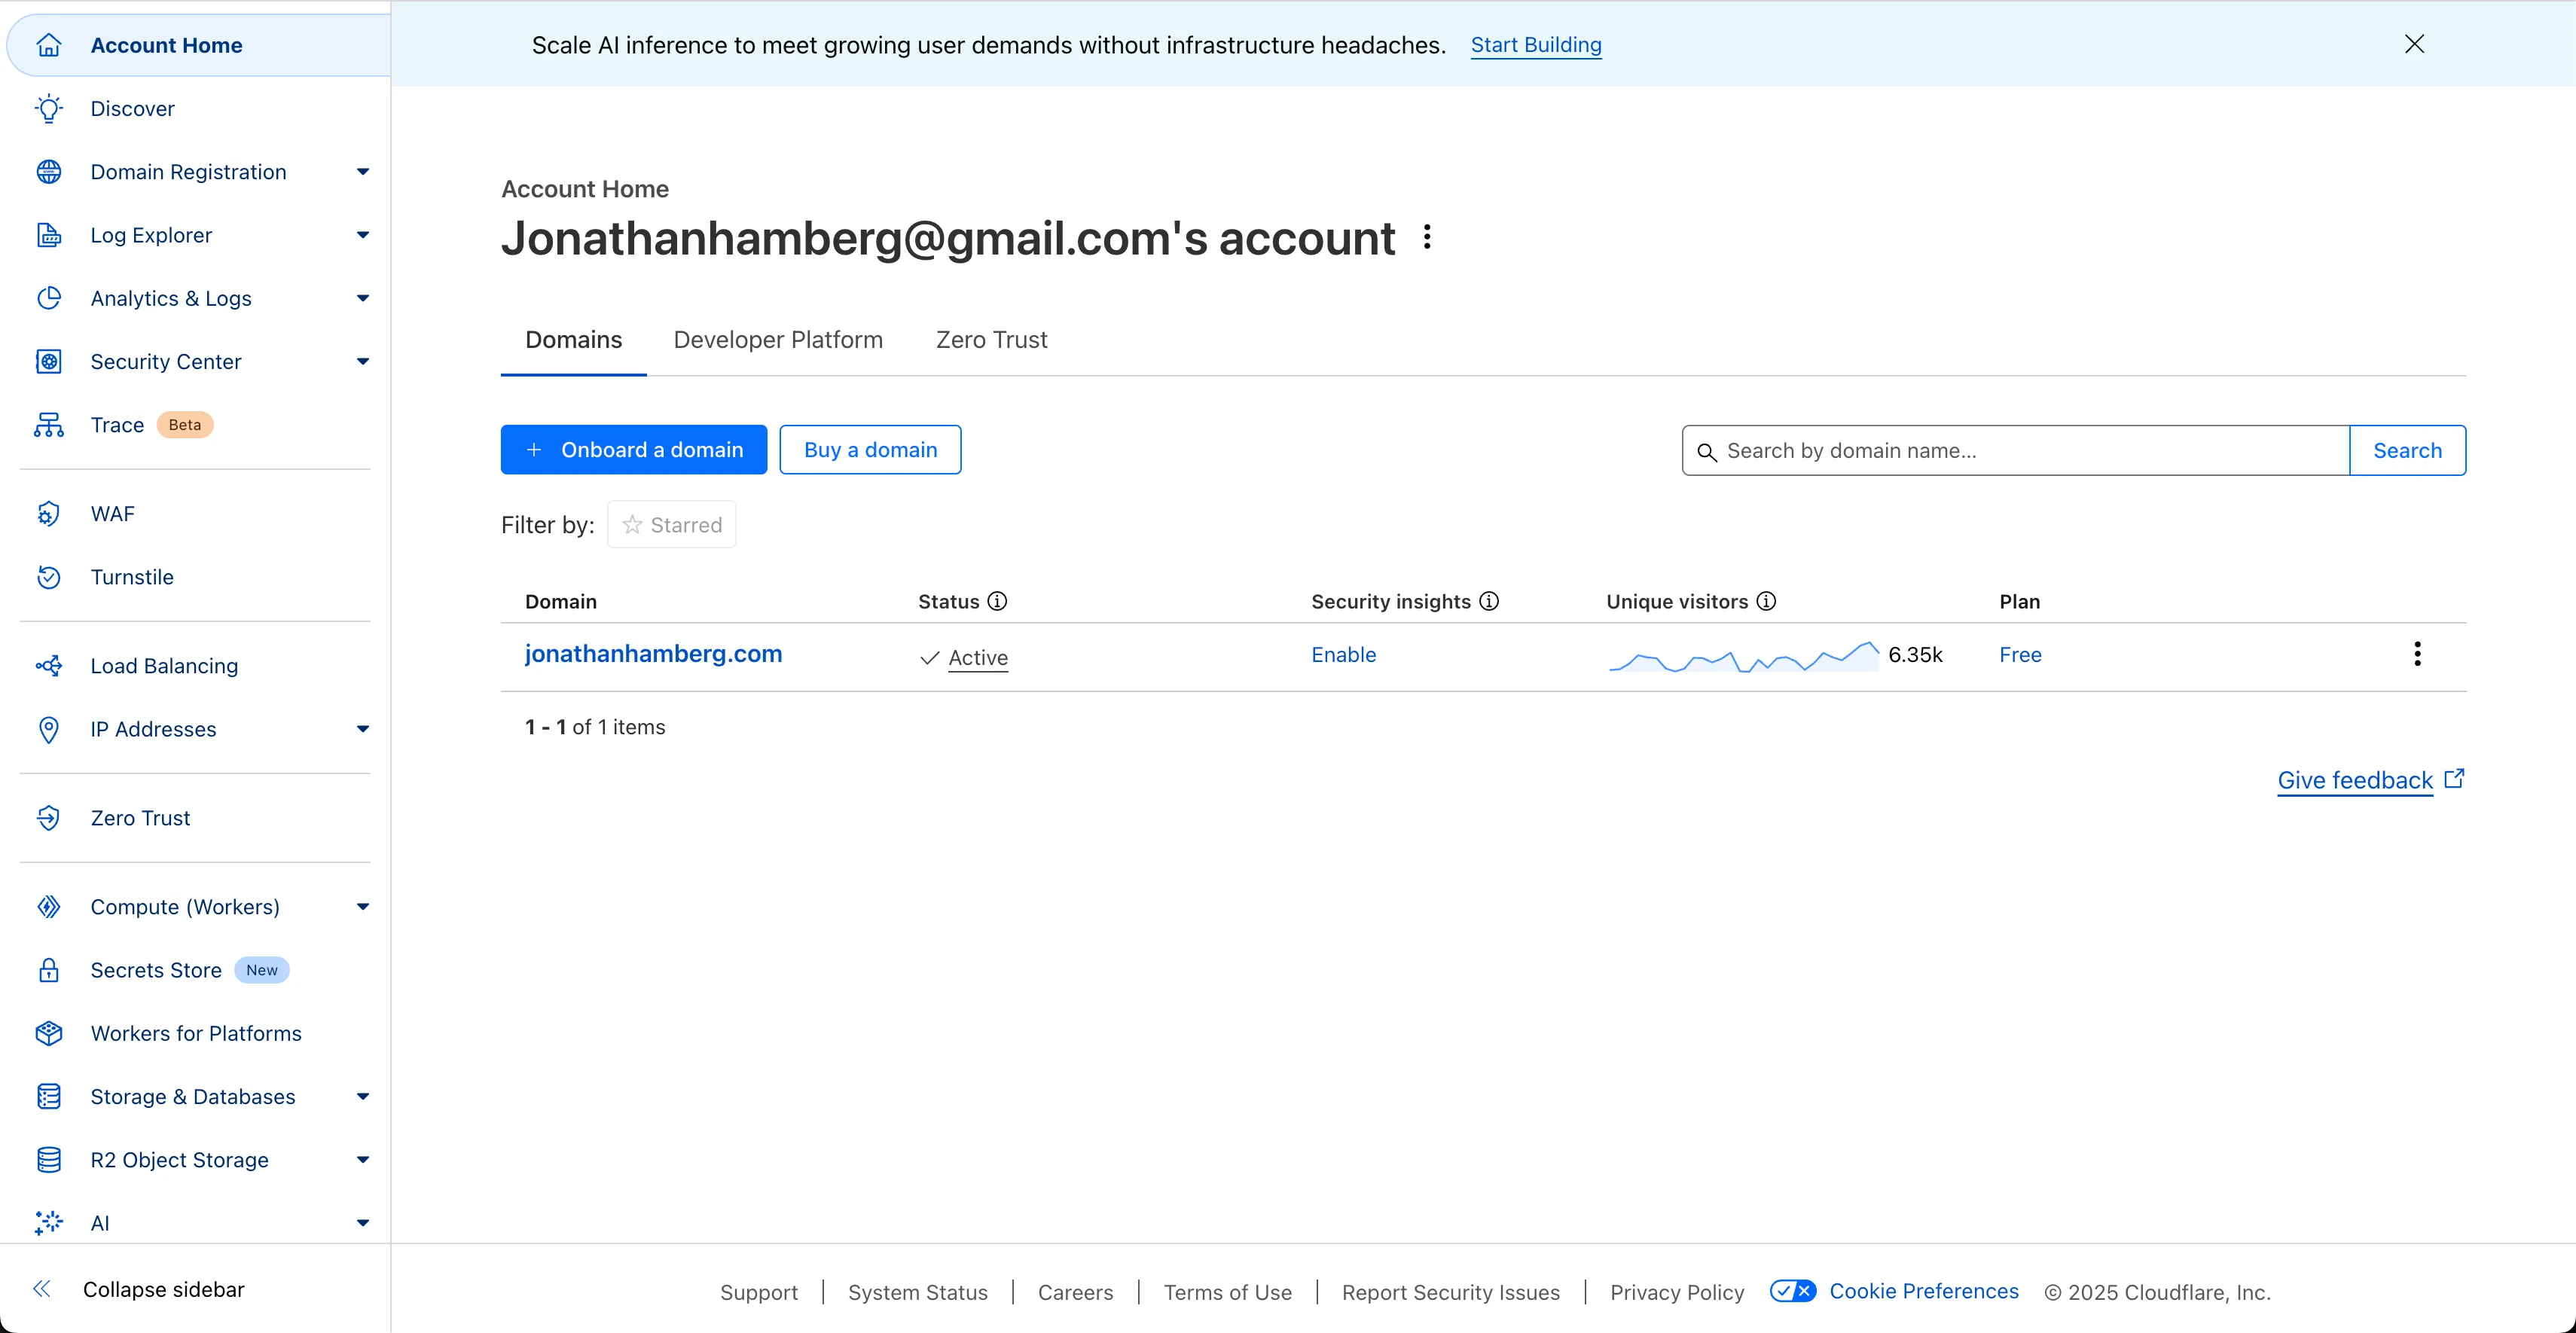
Now that GoatCounter is running on the local NAS, we can set up the tunnel to expose it to the internet. First, log in to Cloudflare and navigate to “Zero Trust”:
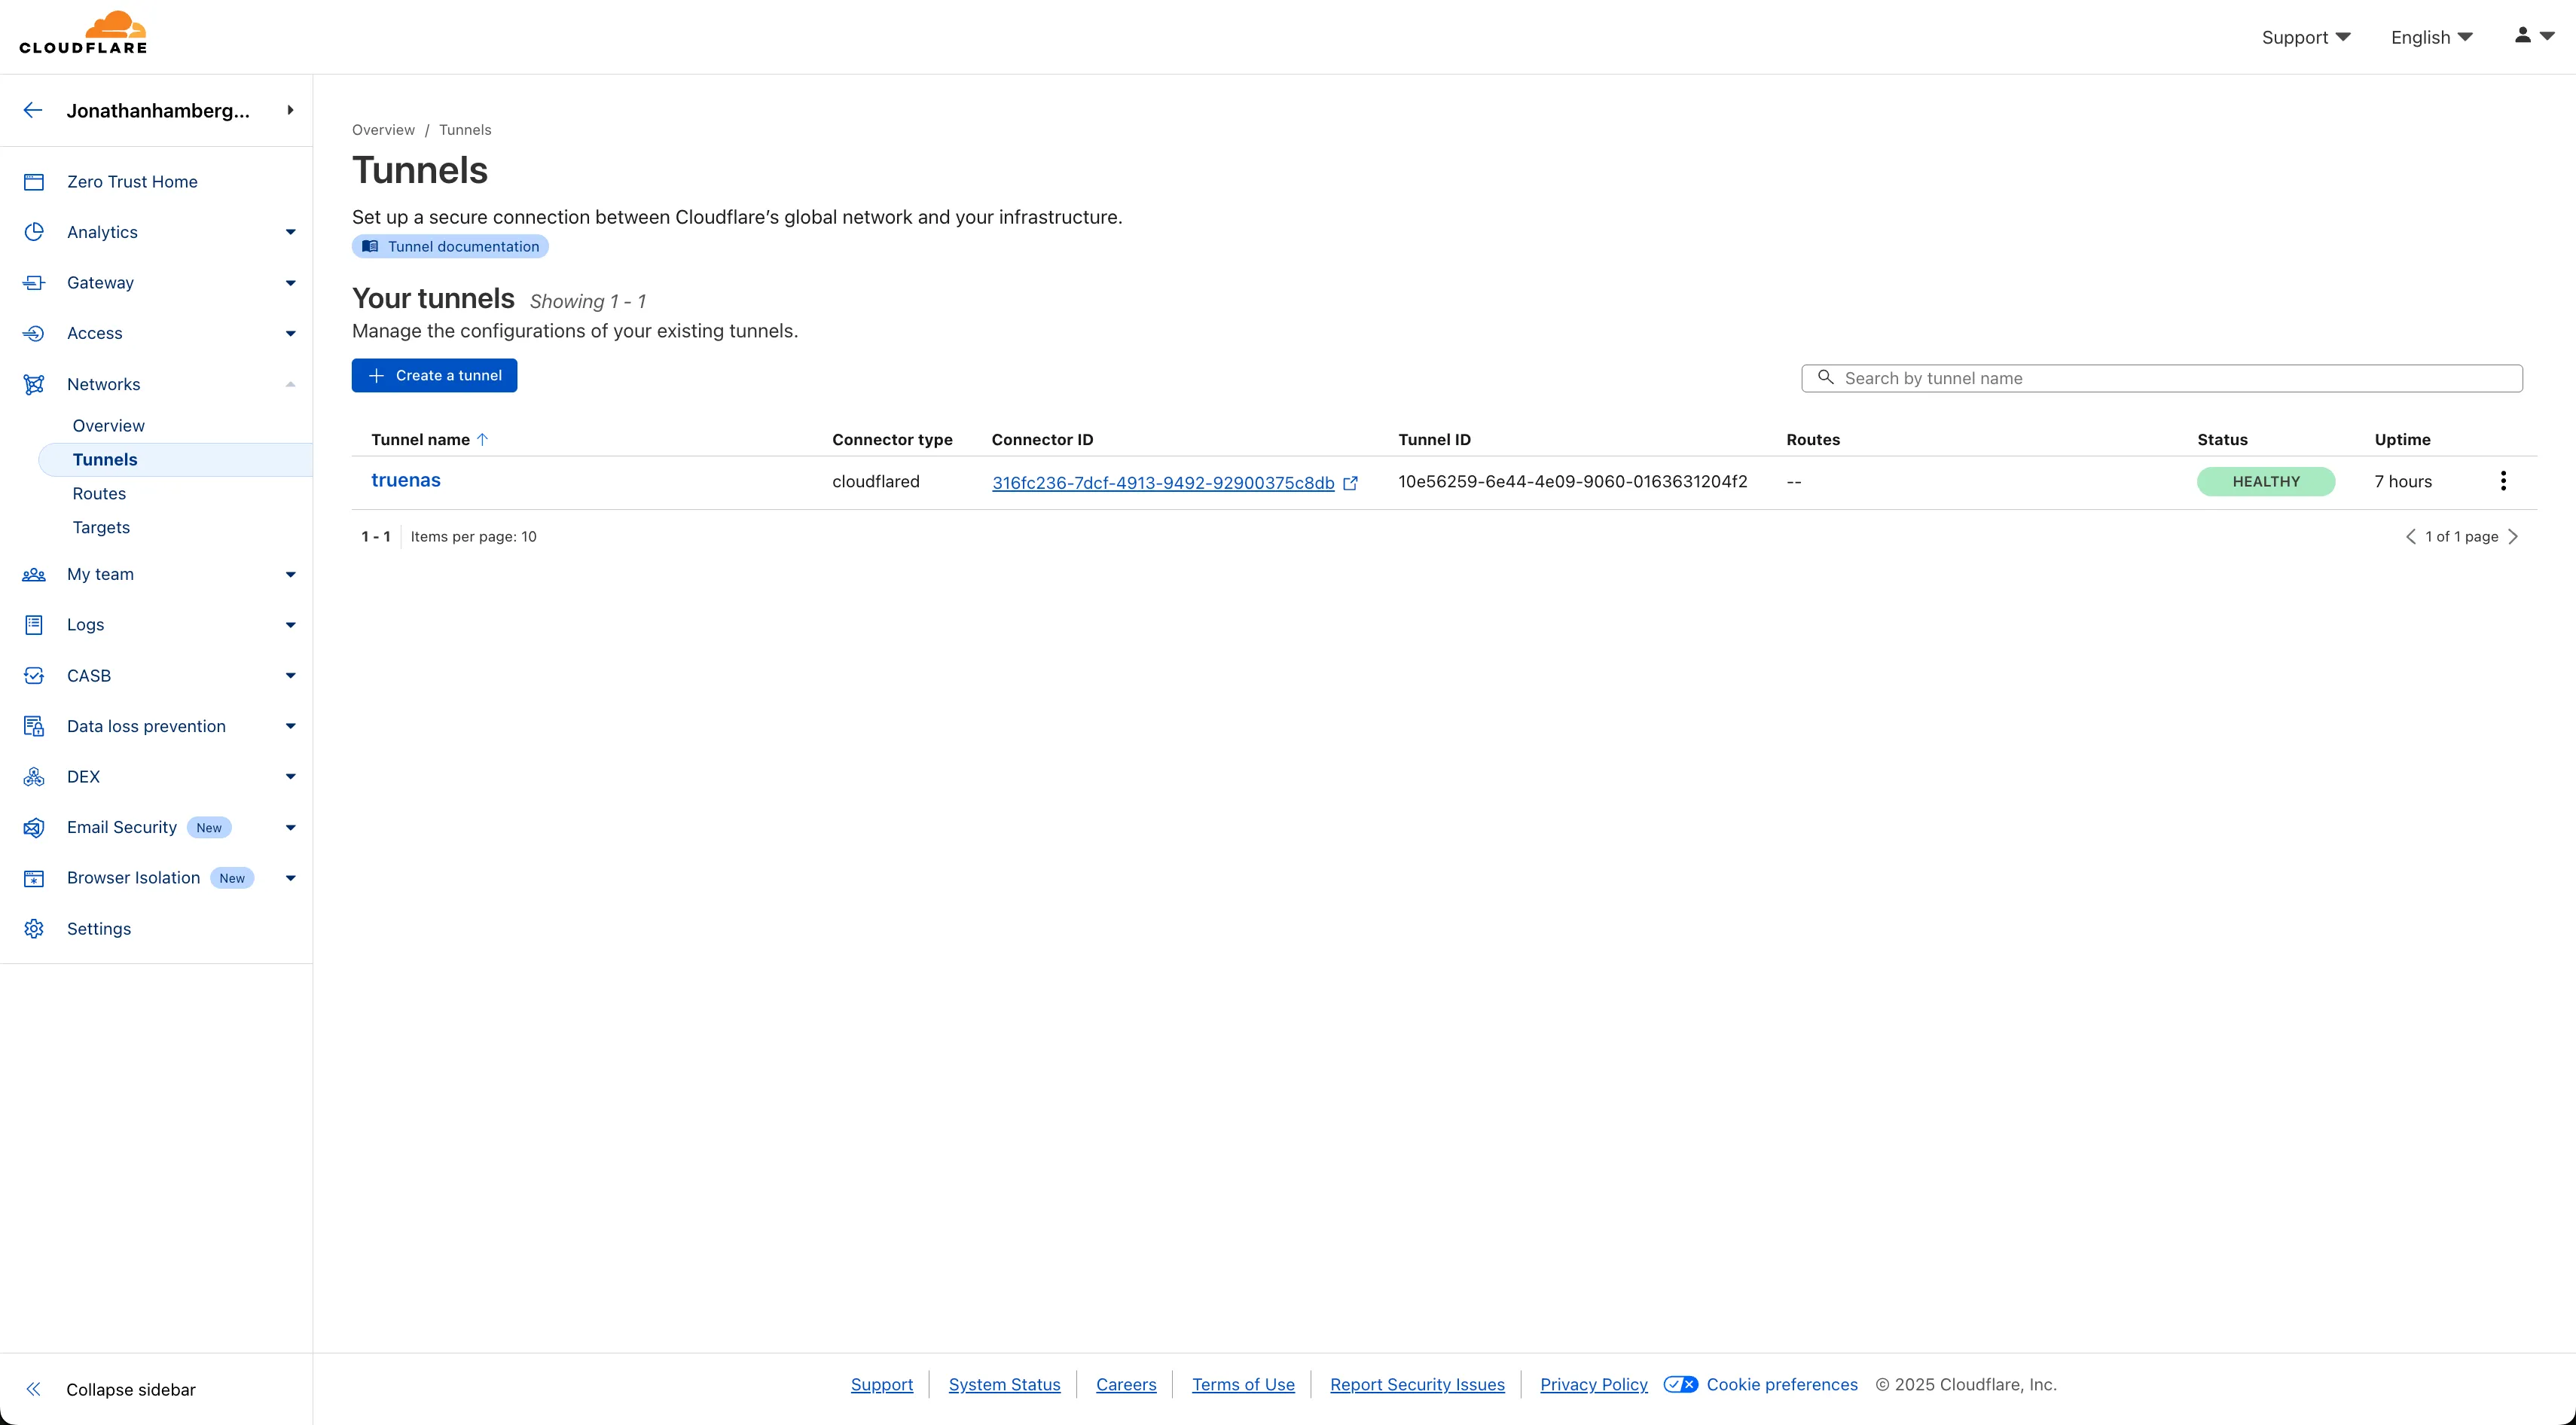
Next, navigate to Network → Tunnels. Here you can see a list of tunnels for your account. I’ve already set up one for my NAS called “truenas”:
You’ll need to install the Cloudflare TrueNAS app, which should be available from the Apps page in TrueNAS. Simply follow the instructions from Cloudflare on how to connect TrueNAS to Cloudflare:

Once the tunnel is configured, Cloudflare is ready to forward traffic from your local machine to the internet.
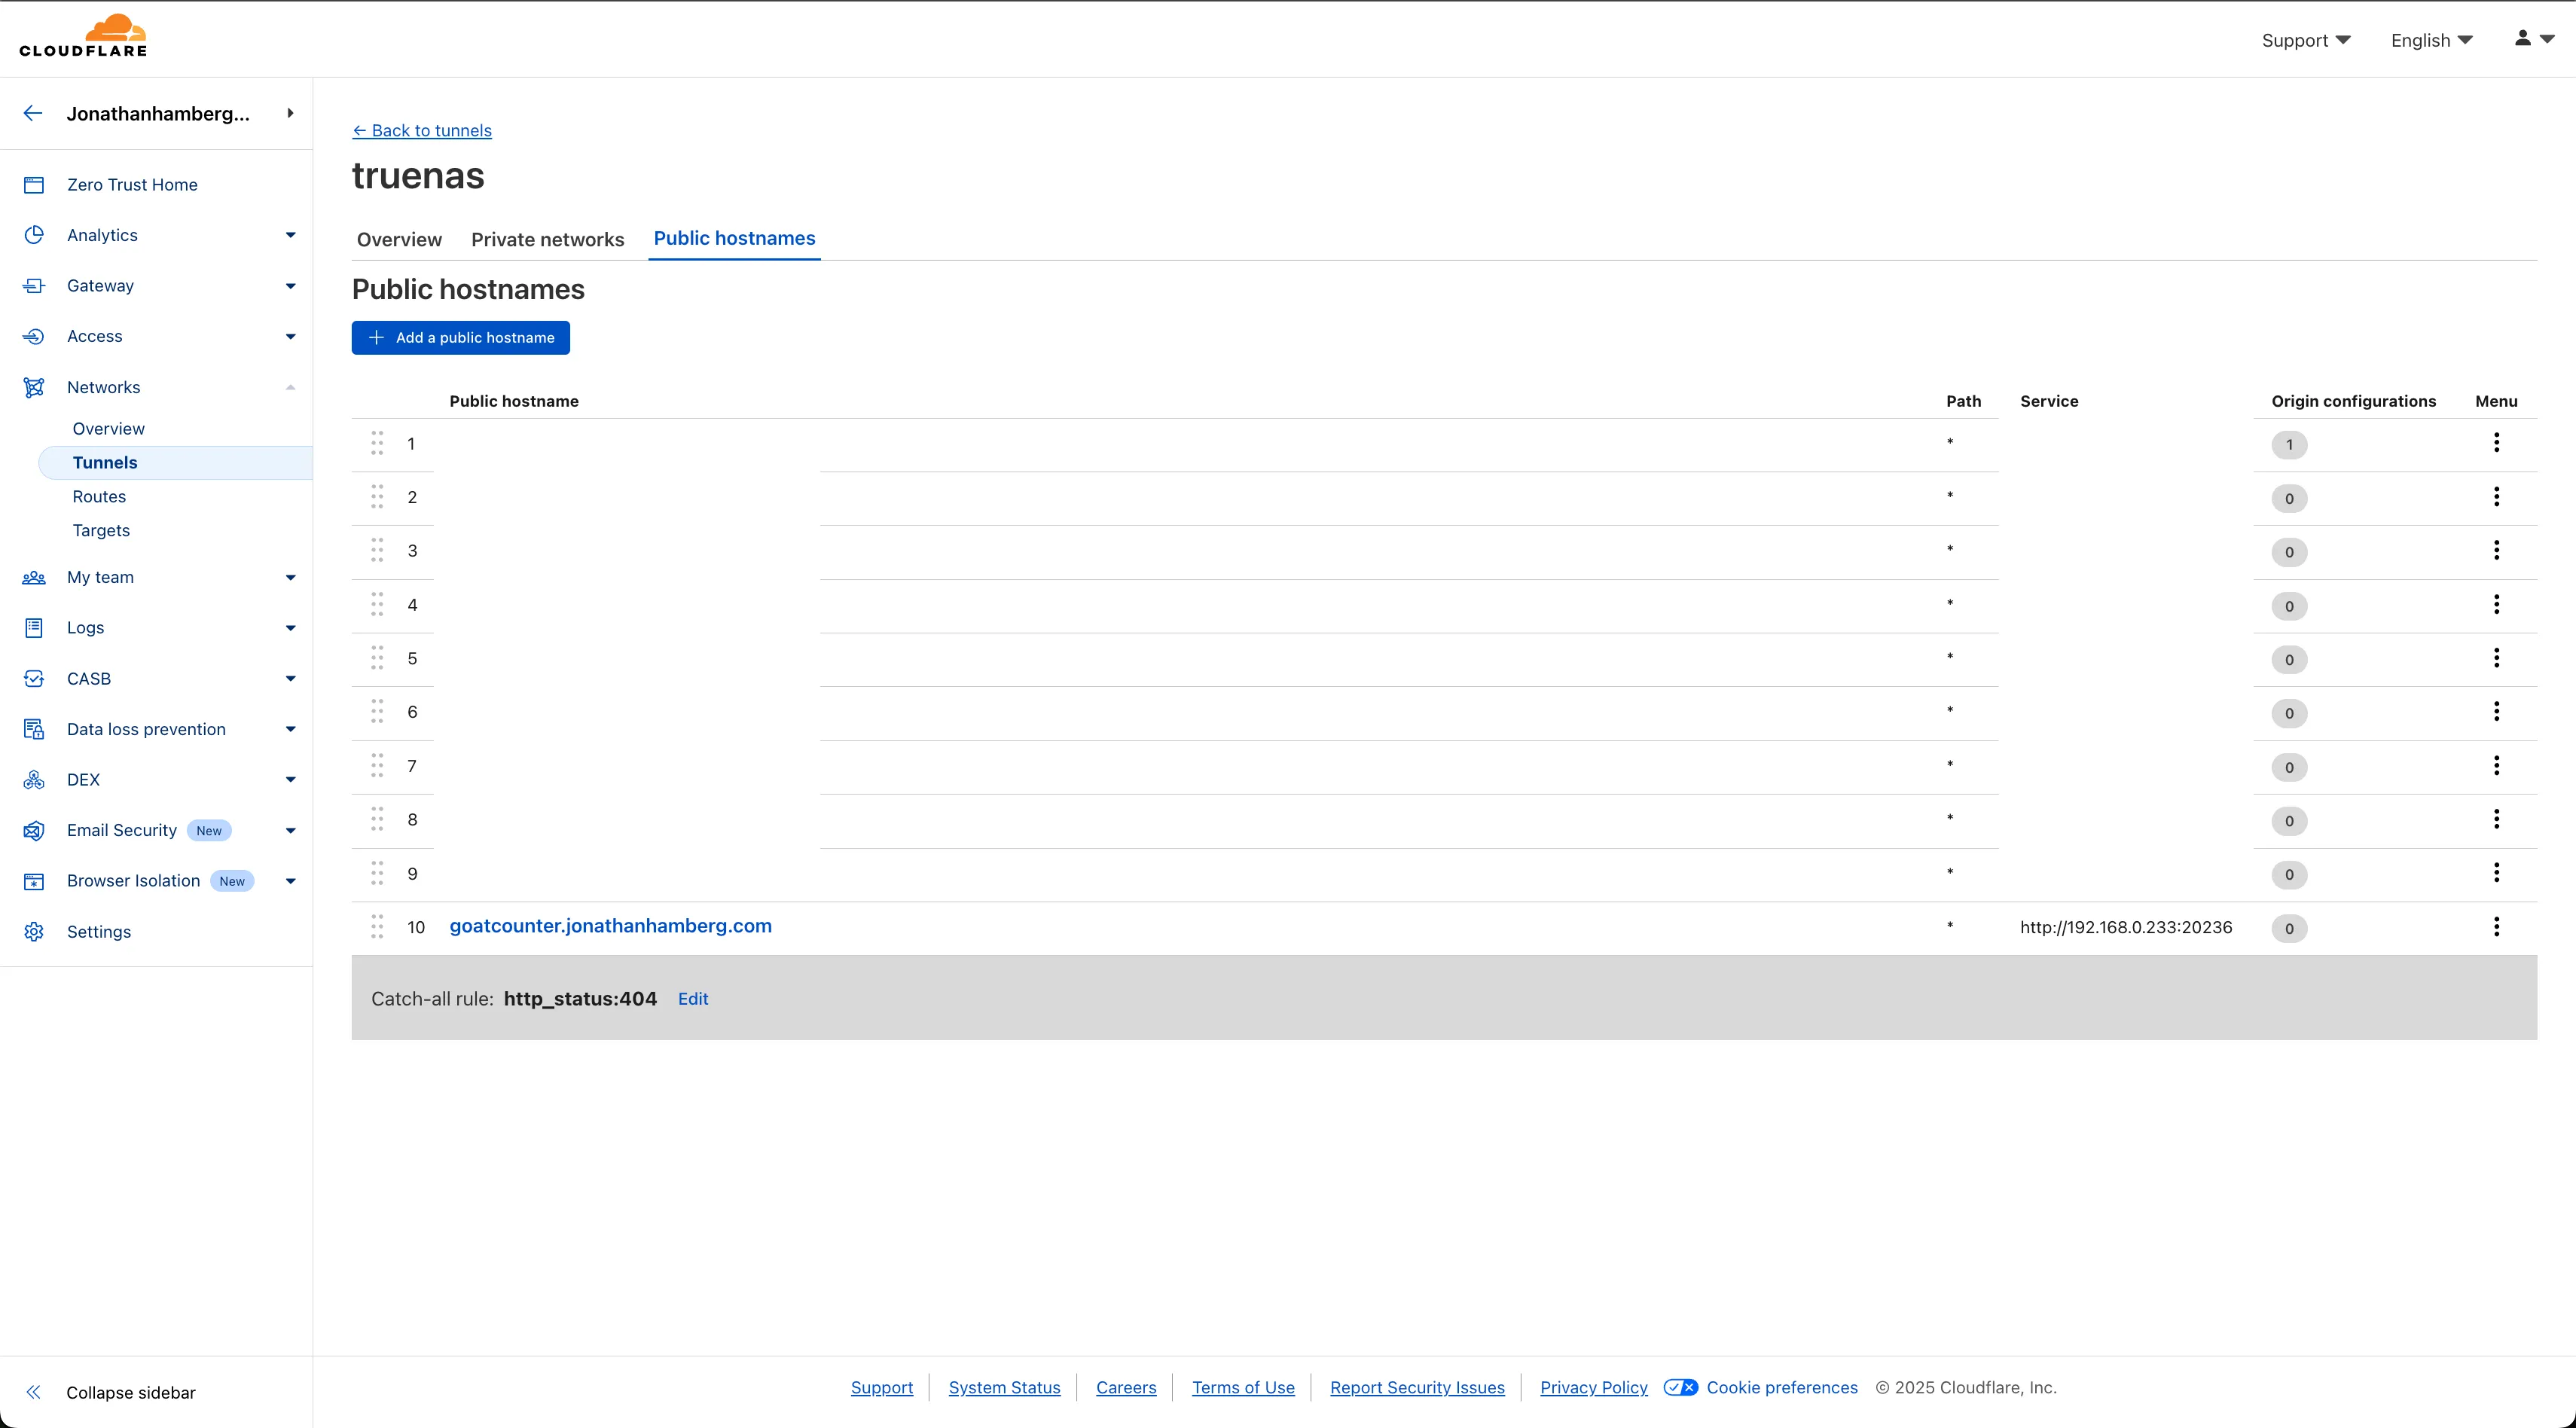 Now click “Add a public hostname.” This forwards a public subdomain to your local service running on your NAS:
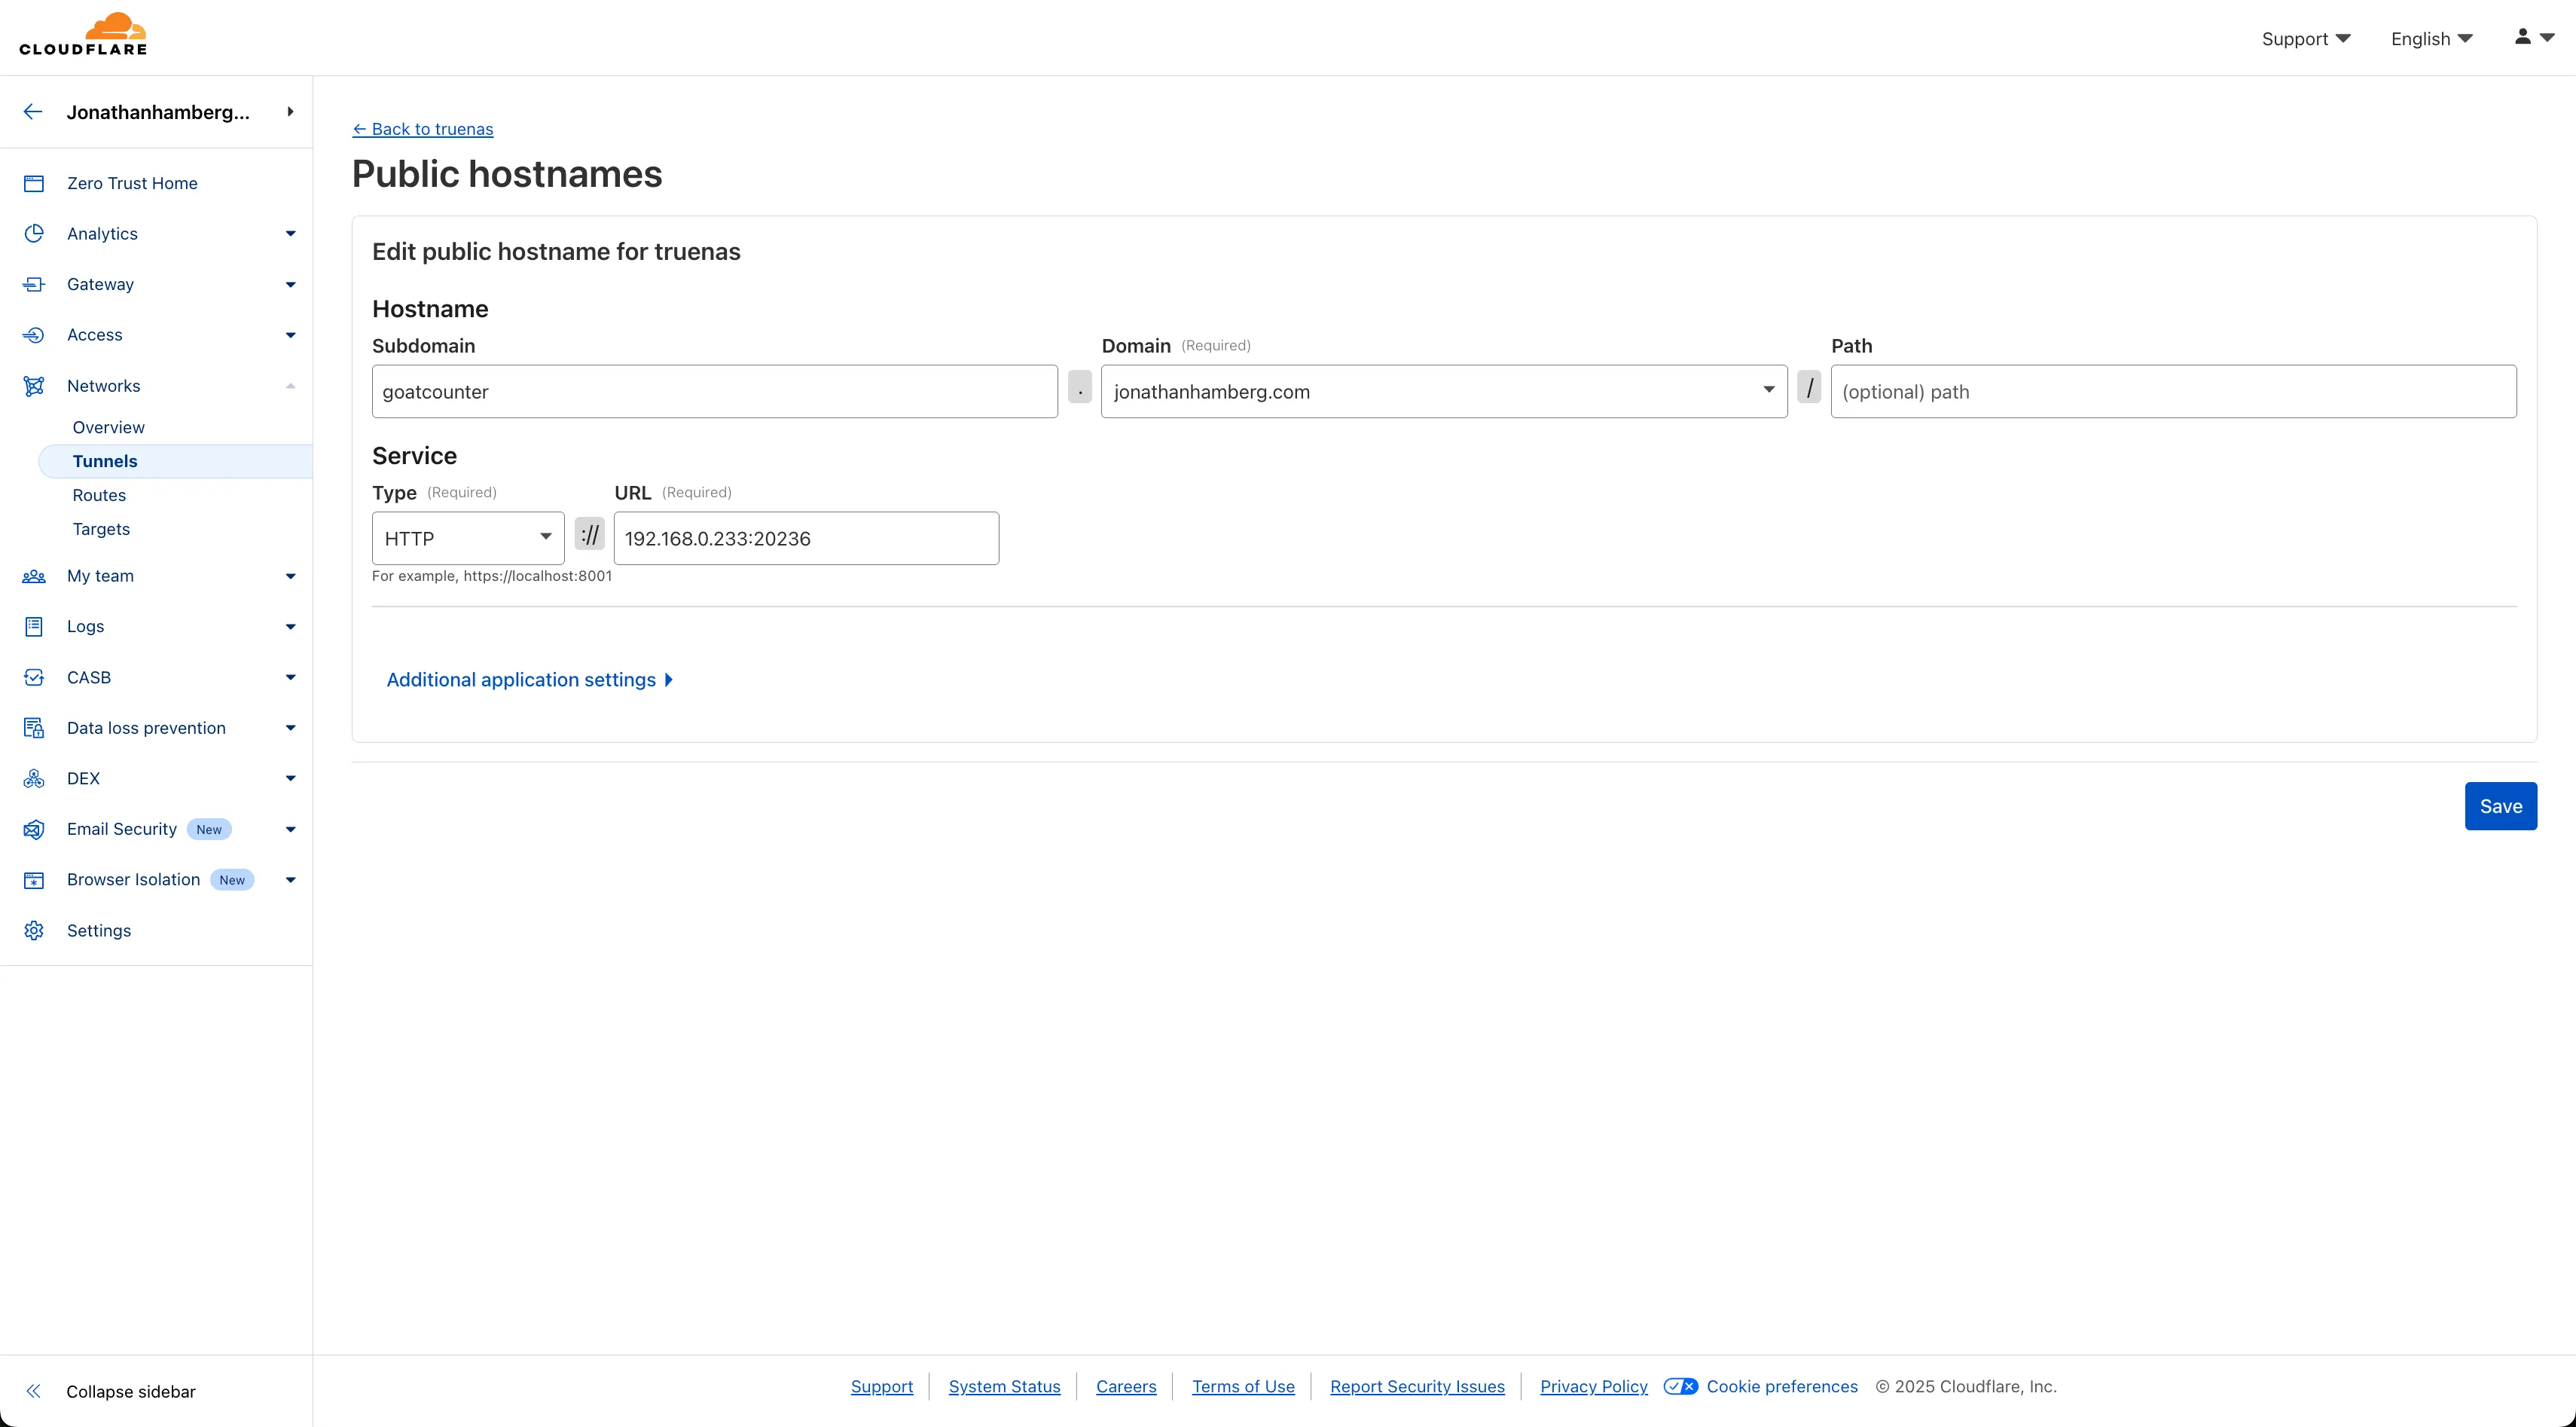
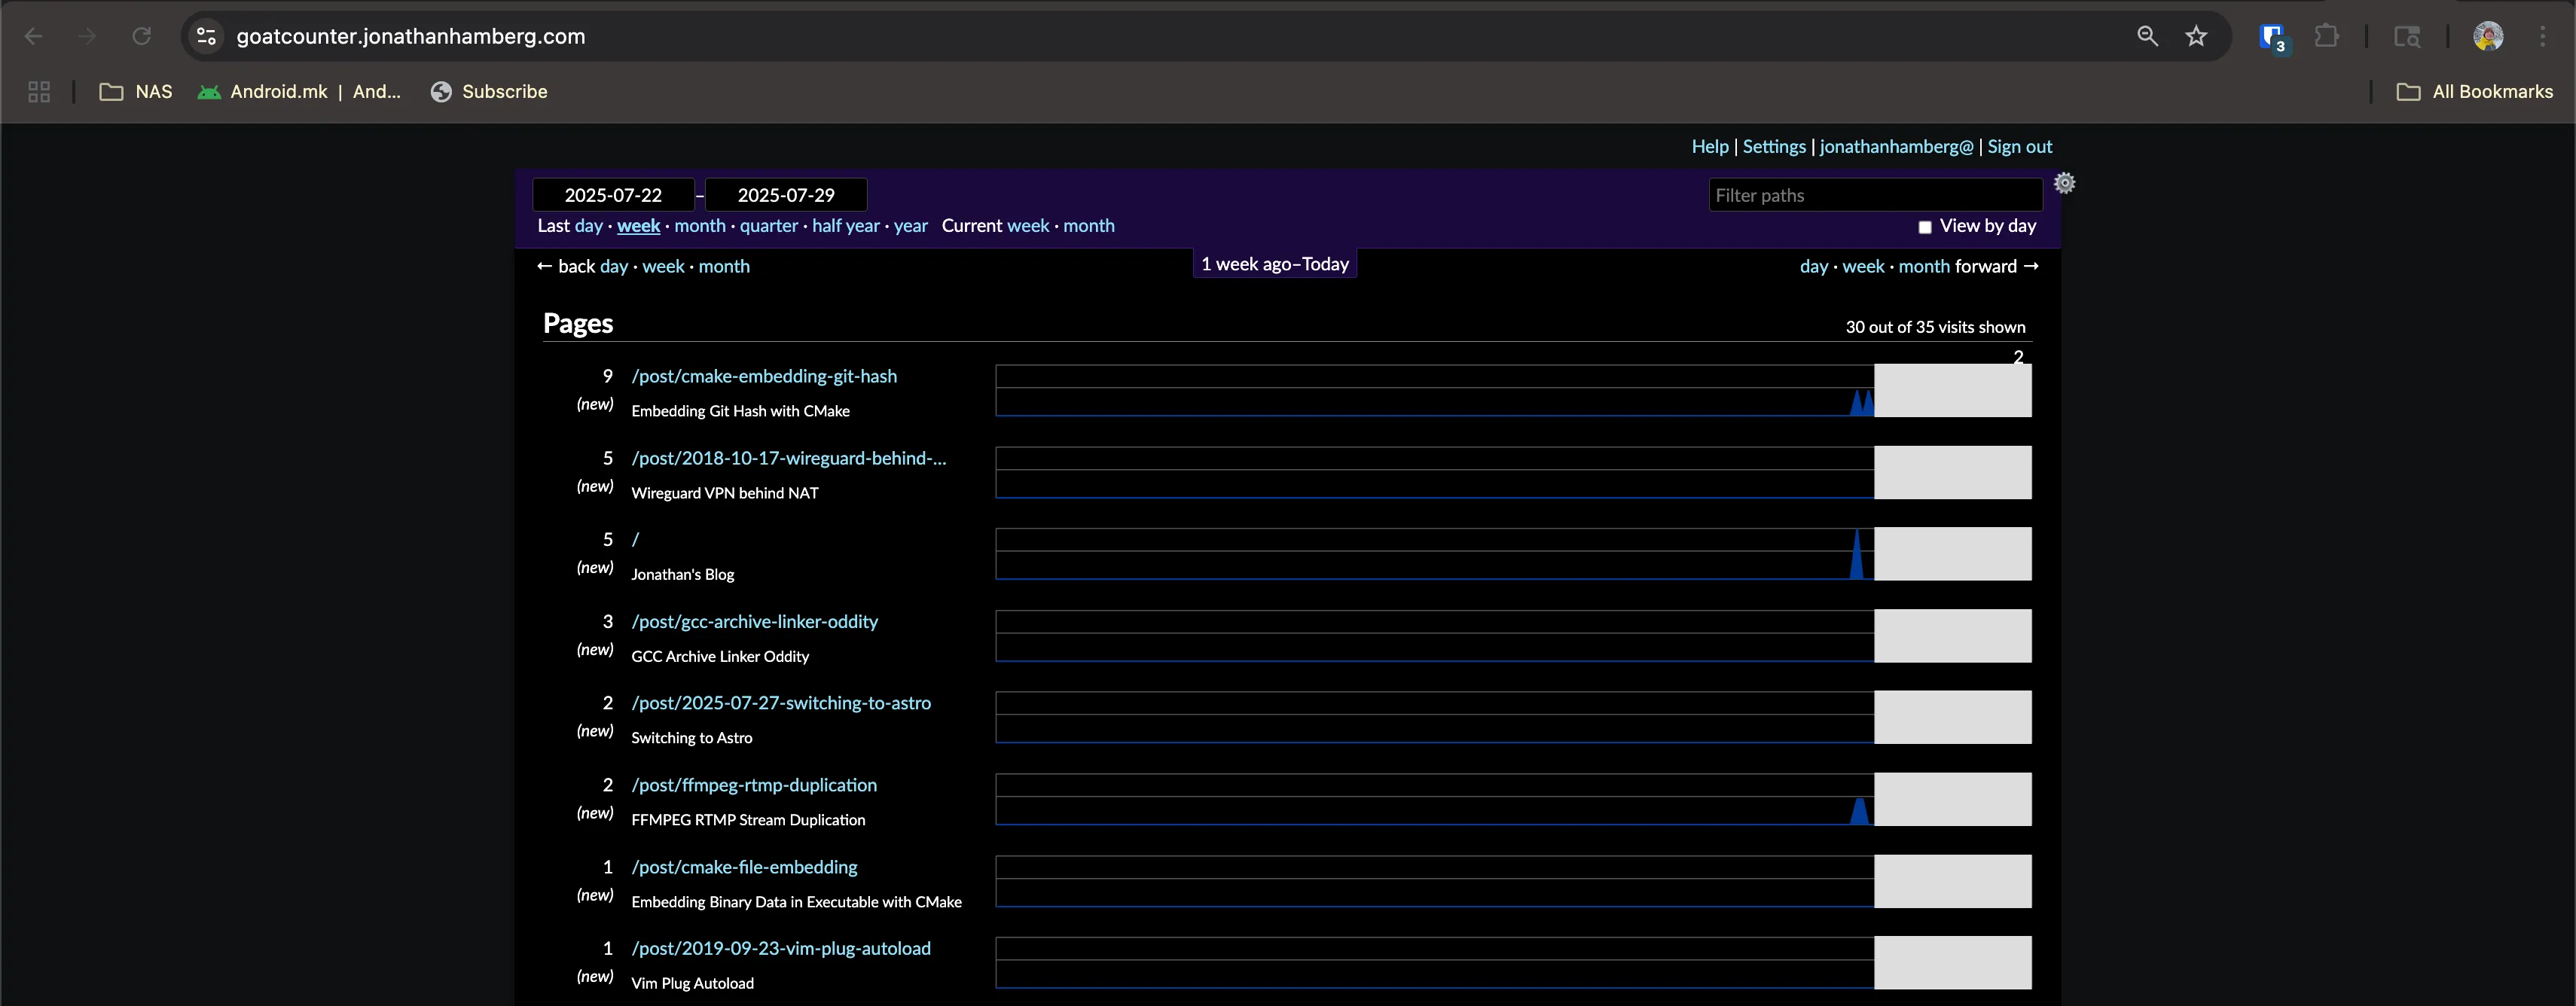
By navigating to goatcounter.jonathanhamberg.com, you can now see the page served from your local network:
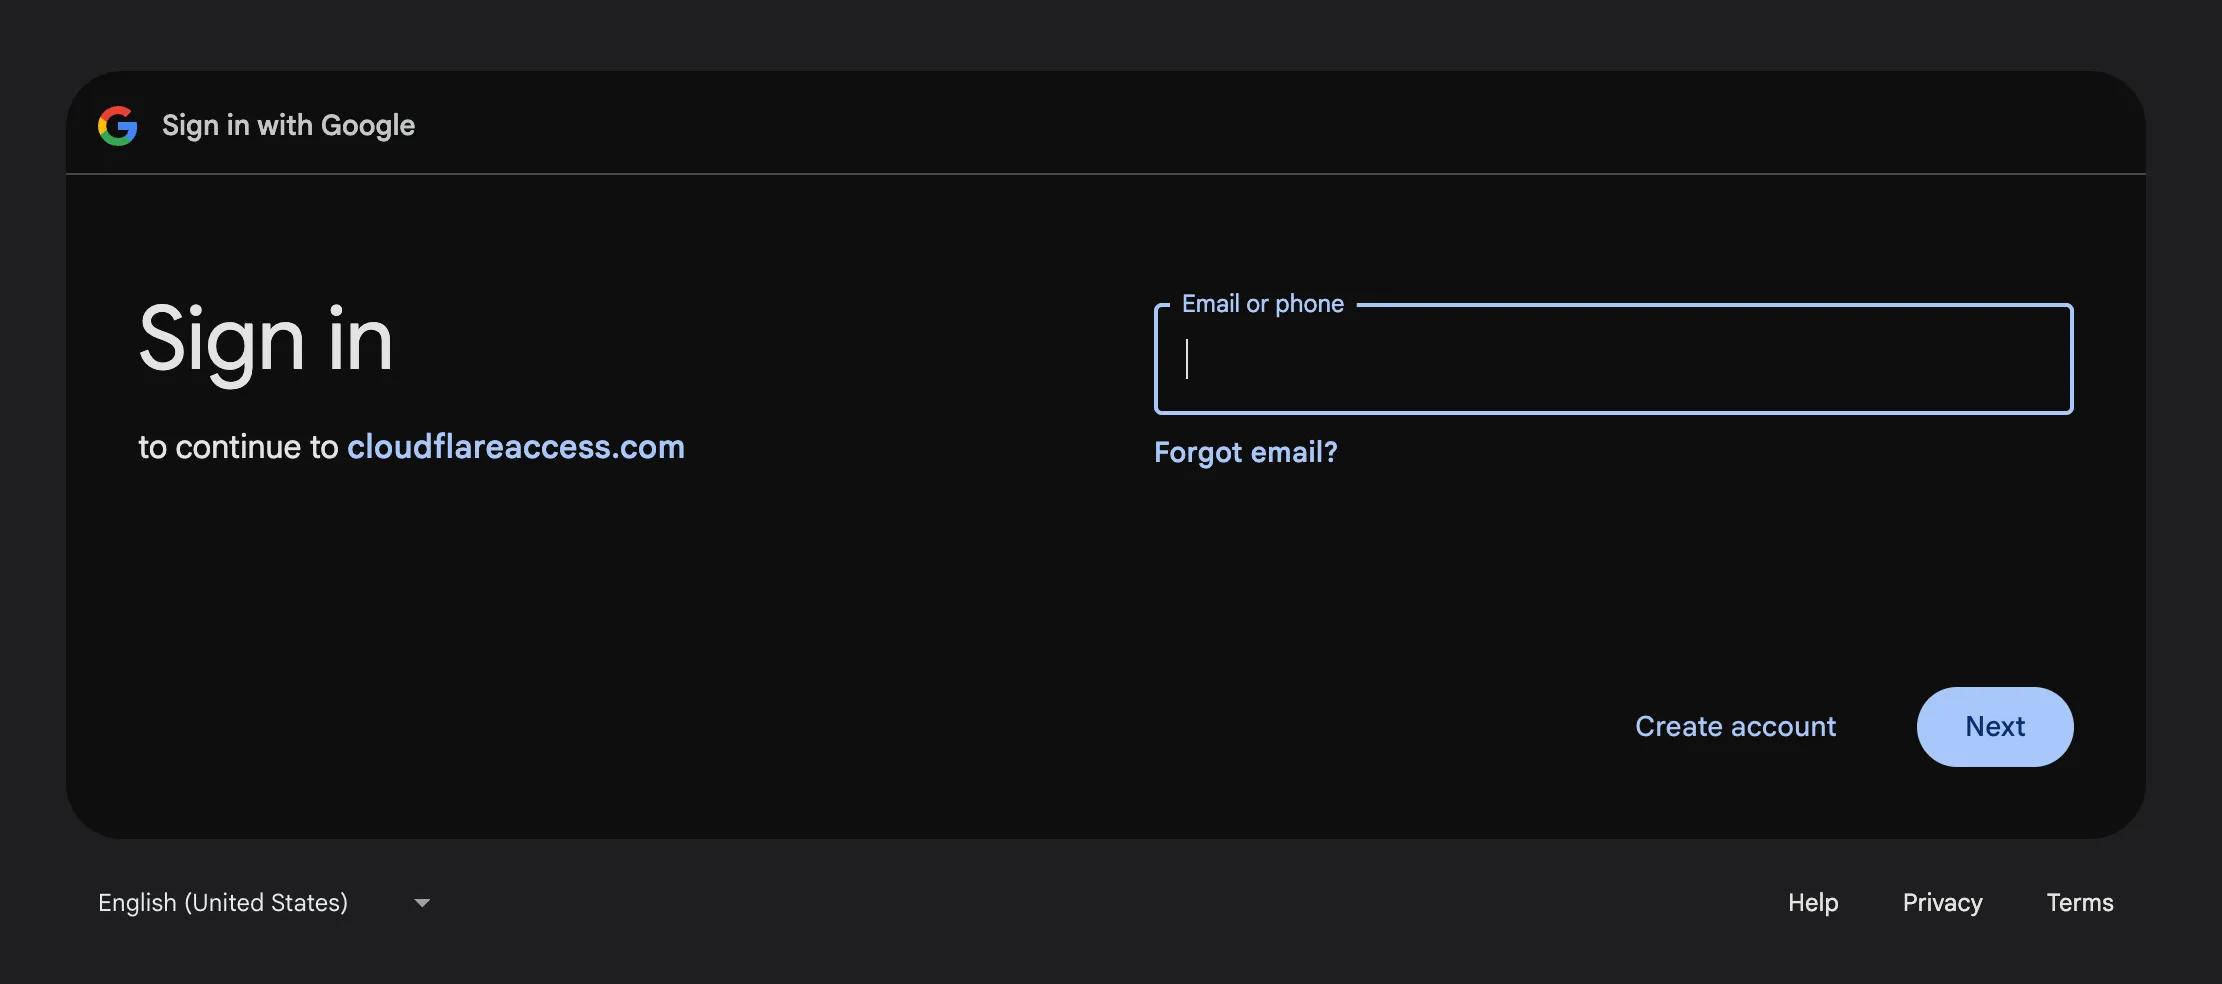
For services that shouldn’t be publicly accessible to everyone on the internet, you can set up a Cloudflare policy to only allow certain authorized email addresses to access the site. These email addresses can be authenticated through an email with a PIN code, or you can set up Google Login for easier authentication. For domains that need public API access, these policies should remain open. It’s also possible to add policies for certain routes while having bypass policies for publicly available routes.
Cloudflare Security Policy
When self-hosting web services, I prefer to keep publicly accessible routes to a minimum for security. In GoatCounter’s case, the dashboard is exposed at goatcounter.jonathanhamberg.com, which could allow unauthorized login attempts. Ideally, only the HTTP API and count.js script should be publicly available. This is where Cloudflare applications and policies become useful.
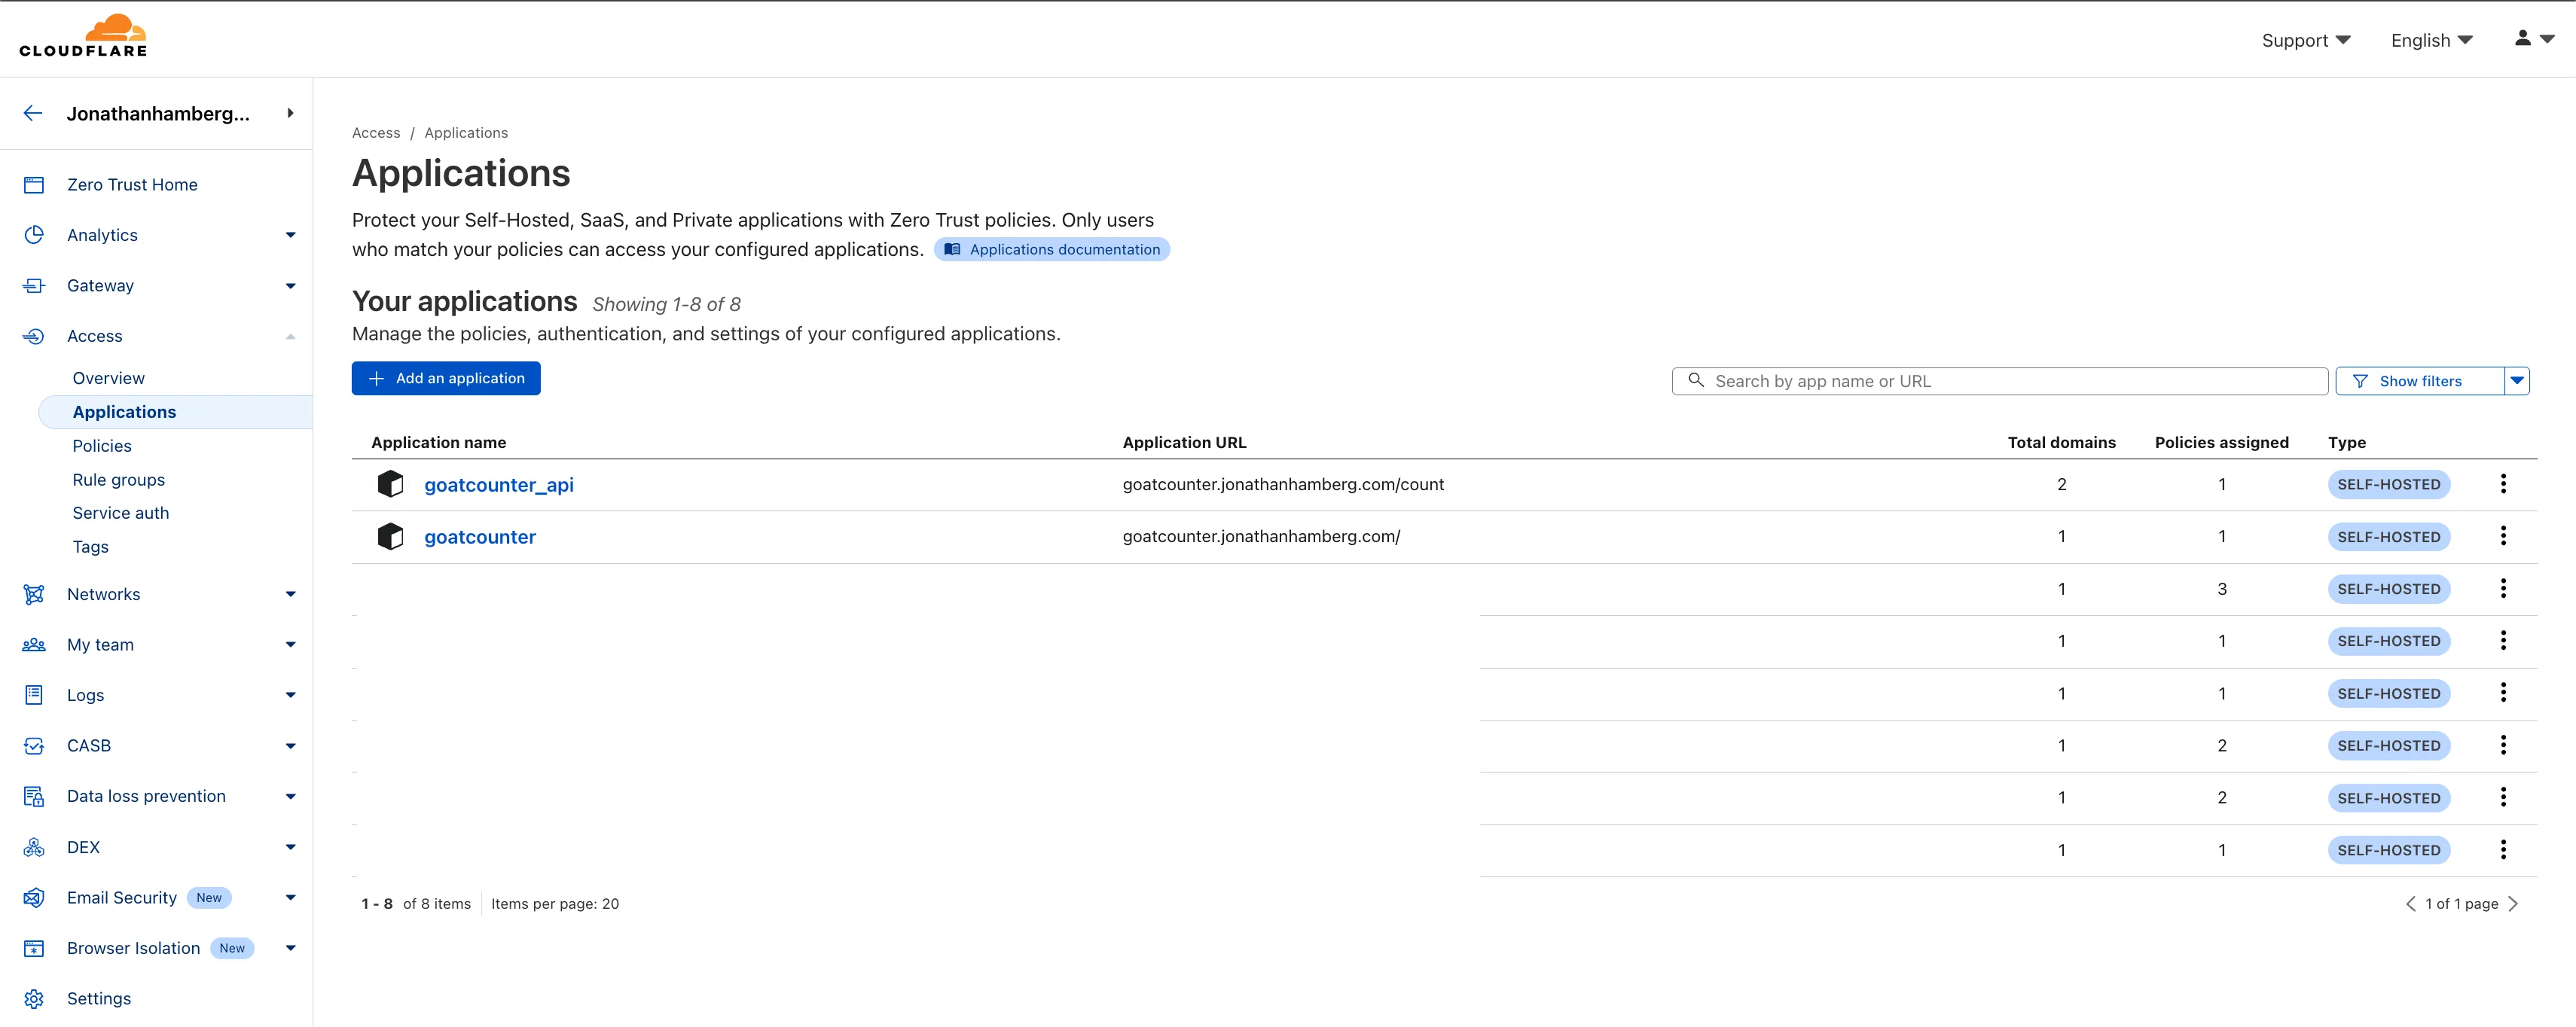
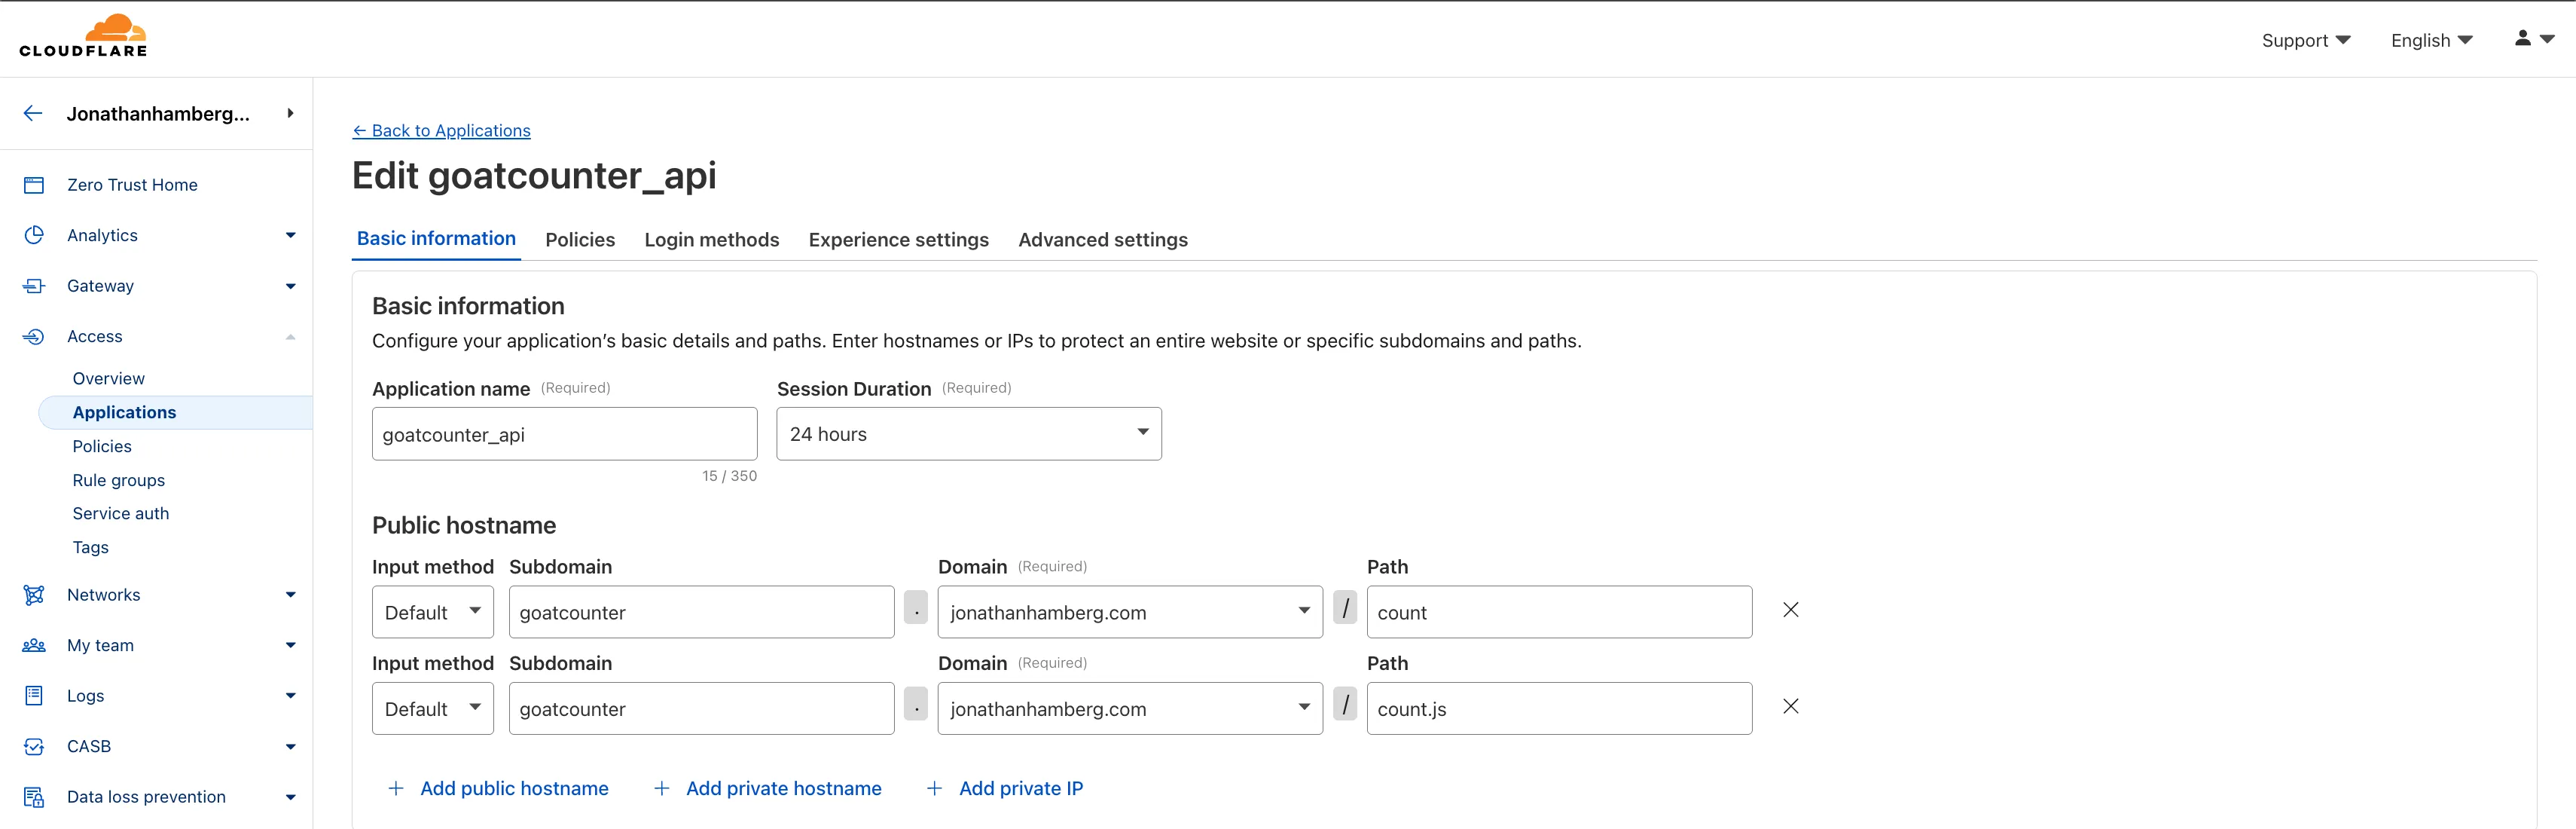
Here you can see that I’ve created two applications for GoatCounter: one general policy that requires authentication and covers the entire website, and a specific application for API usage that bypasses authentication requirements for public access:
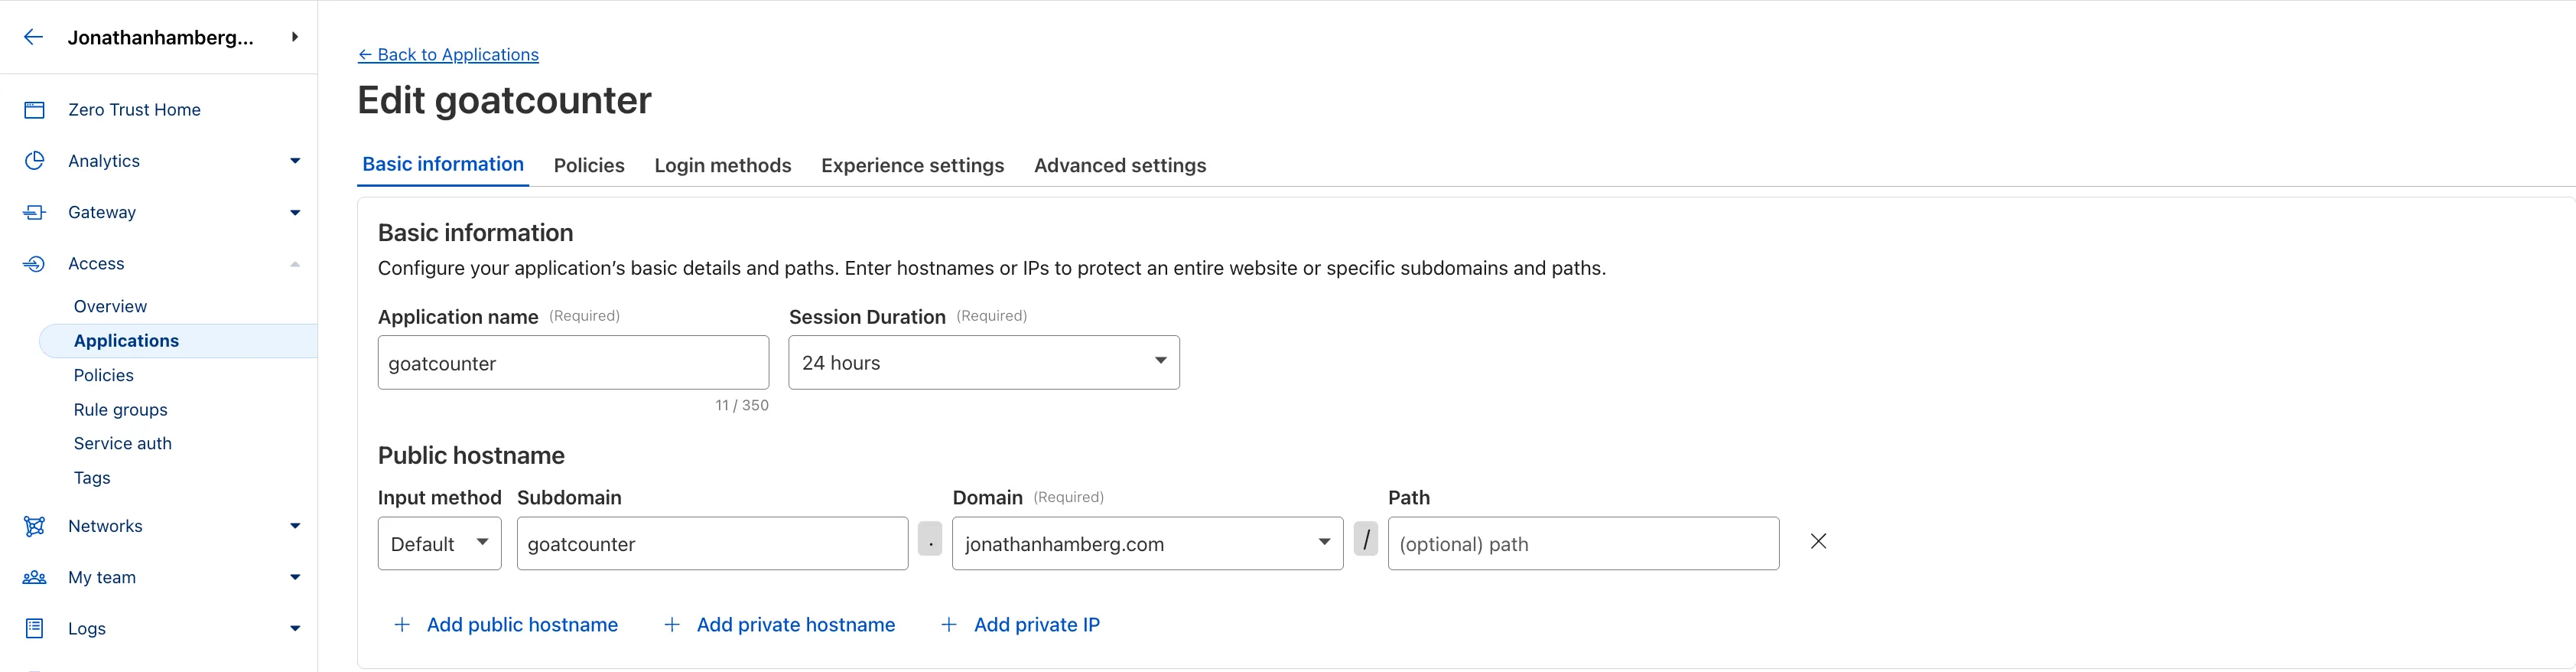
I’ve created one application for goatcounter.jonathanhamberg.com/* and attached an authorization policy to it. This requires authentication via email or Google OAuth to view these routes. I trust Cloudflare’s authentication more than anything I might set up on my local NAS. I feel more secure knowing that the application is protected before requests even reach my NAS:
According to the GoatCounter API documentation (https://www.goatcounter.com/help/api), only the /count.js and /count HTTP endpoints need public access for telemetry. All other routes are for the dashboard and internal APIs that shouldn’t be exposed to the internet. This approach makes me feel much safer, exposing only the required routes rather than the entire GoatCounter subdomain.
For public access, I’ve added the goatcounter_api application with the /count.js and /count HTTP endpoints. I’ve assigned a BYPASS policy to this application, meaning these routes don’t require authentication. One confusing aspect of setting up this policy and application for GoatCounter is that you can’t accomplish this with a single application. That’s why two applications are required: one for blocking access and one for bypassing authentication on public routes. Once both applications are configured, everything works as expected:
This is the page you’ll see when trying to access goatcounter.jonathanhamberg.com, but you’ll still have access to goatcounter.jonathanhamberg.com/count.js:
Summary
PS. Obviously, a cloud VPS offers more reliability than a home server since you don’t have to worry about power or internet outages. However, for running a service for a simple blog, this setup is sufficient. I also like the idea of maximizing the use of the expensive hardware I bought for the NAS to make the investment more worthwhile.